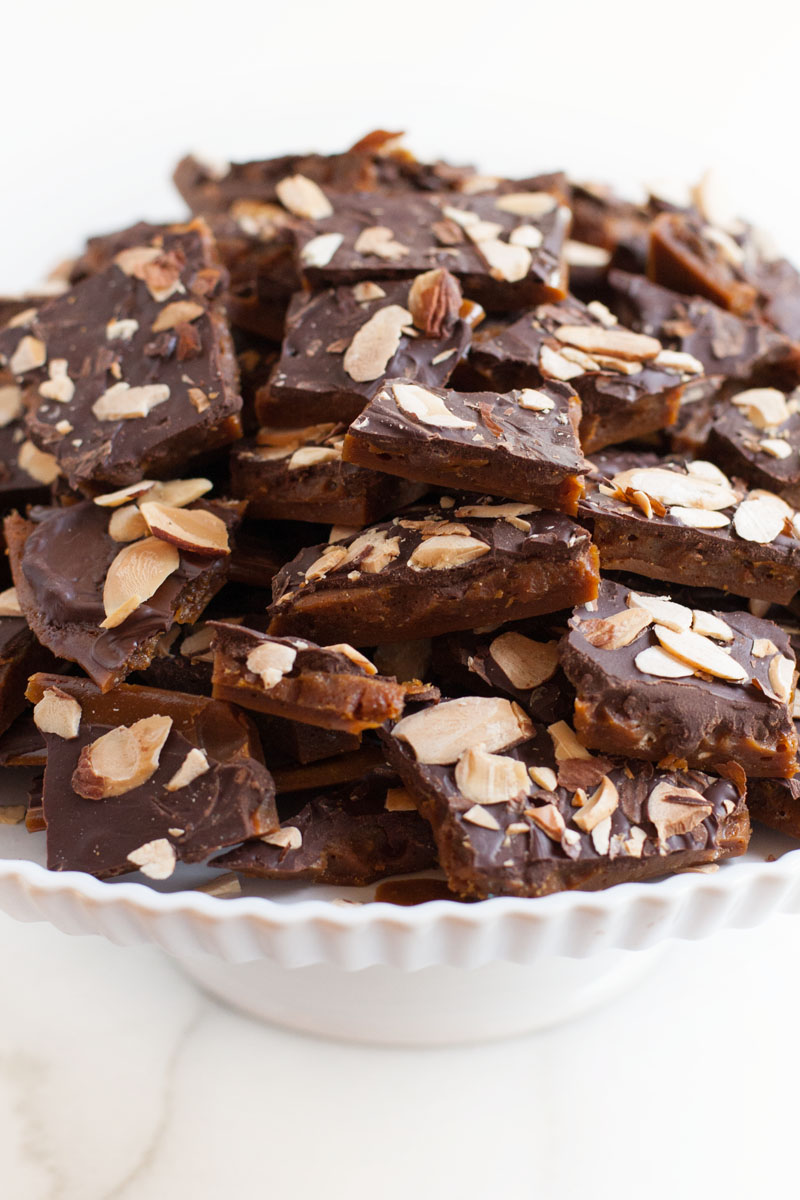
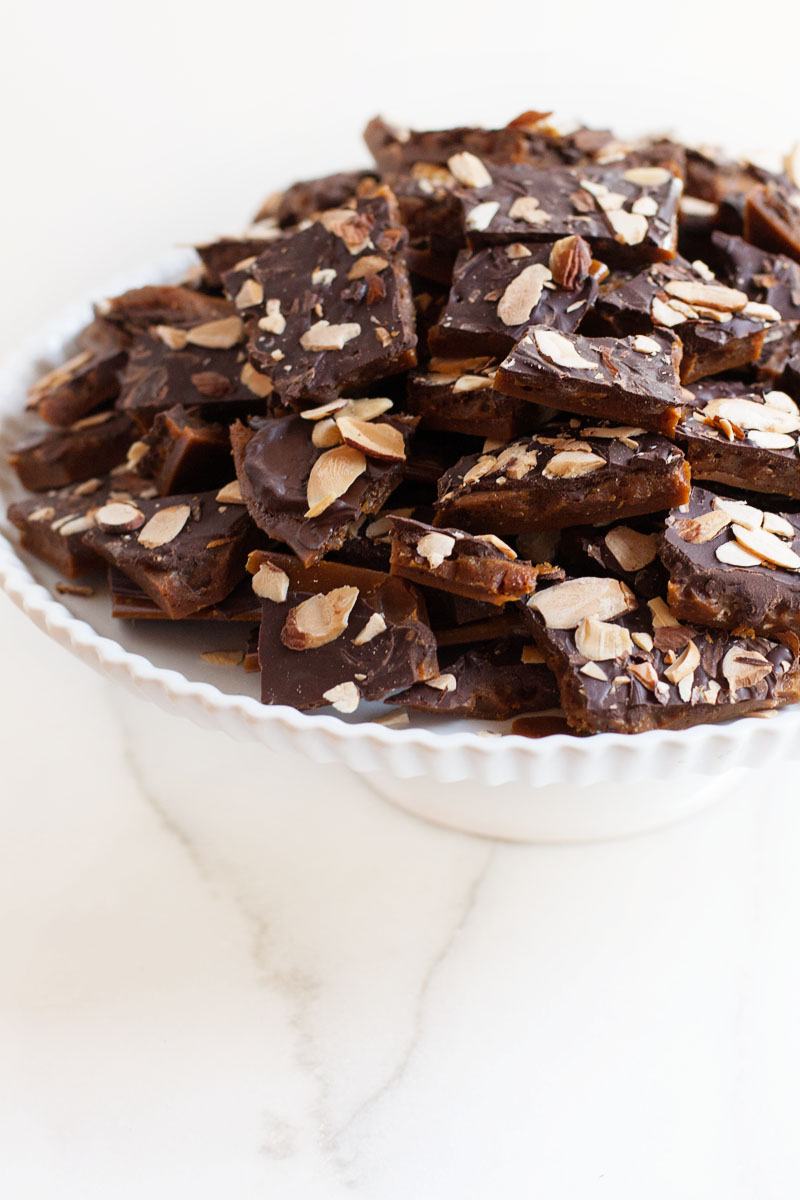
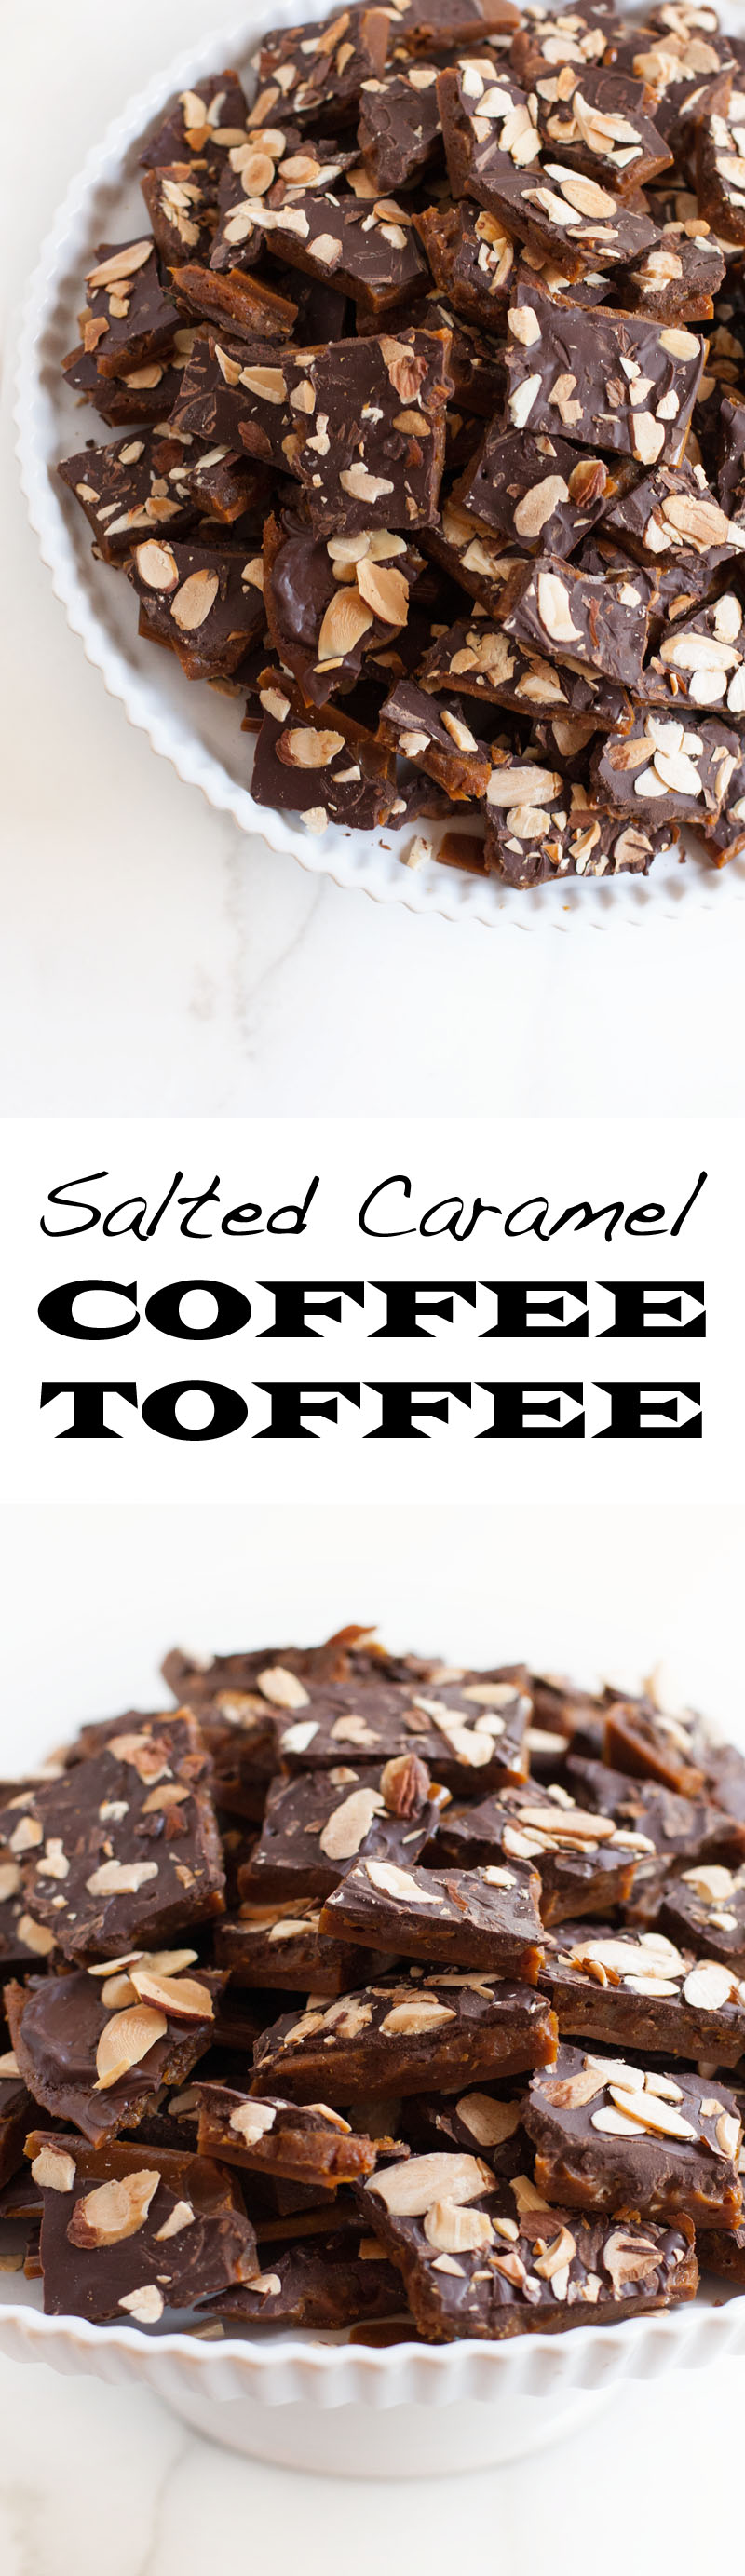
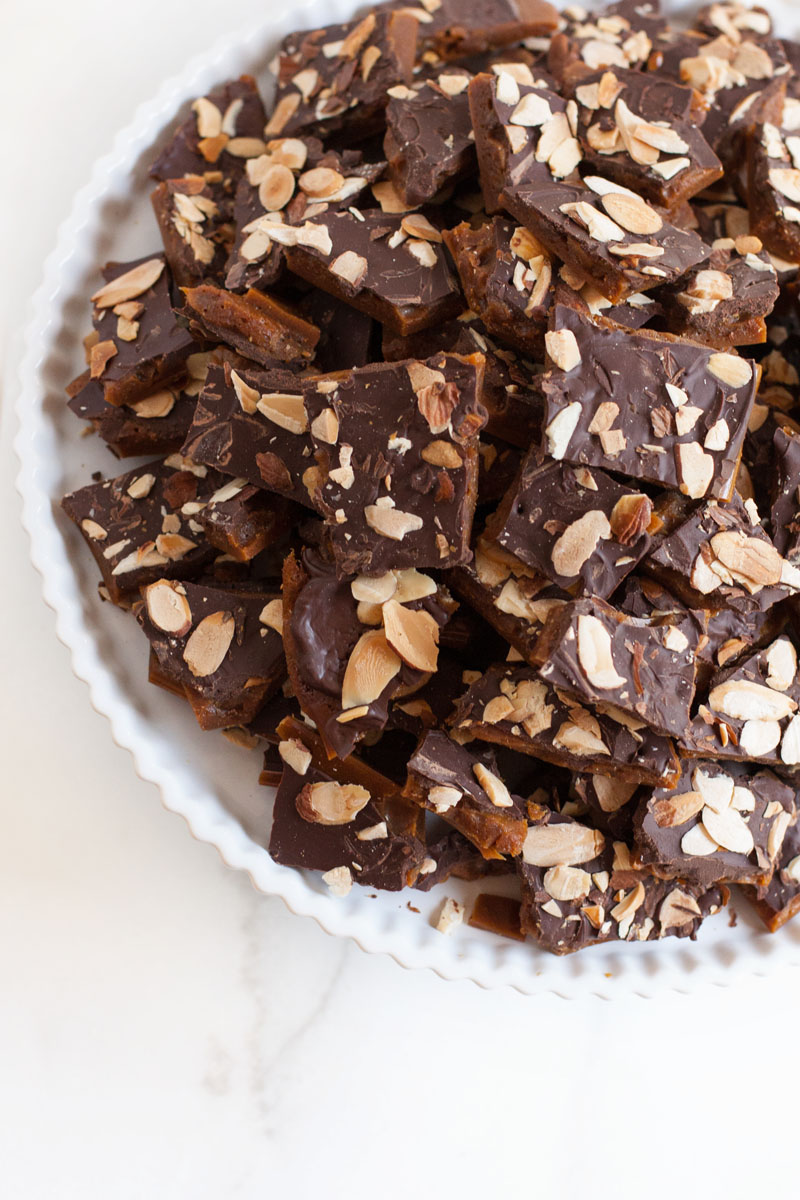
Yep, I said Salted Caramel Coffee Toffee. Coffee Toffee… Say that 10 times fast! This sweet almond-roca-ish treat is easy to make, and more importantly - easy on the teeth! (We all know, not all toffees can make that claim!)
All you need is a good pot, a cheap candy thermometer, and a whisk. Easy, peasy!
If you really want to spoil someone you love this holiday season, this is the treat to make. The hint of coffee and maple syrup are just out of this world in the sweet/salty toffee base, and chocolate and toasted almonds round out the topping!
You all know my love of Starbucks VIA instant coffee packets for baking (you remember this ice cream recipe from this summer, right?) and this toffee recipe is no disappointment. Even if you don’t use them for anything else (I don’t drink them!) grab a box at the store and keep them on hand for baking. Add them to brownie batter, cookie dough, ice cream, etc. and you will learn to love their versatility as much as I do!
I am a big fan of homemade Christmas gifts. Now, if I was handy enough, I would probably do all homemade gifts. But all I do is bake, so my usual MO is to add baked goods, treats, homemade vanilla, etc. to the Christmas presents we give. A little homemade love + a little store-bought token = a perfectly well-rounded gift, in my opinion!
(Hint: It’s not too late to make Homemade Vanilla Extract for your friends/family this Christmas. It’s such a fun, unique gift… And about the easiest thing in the world to make!)
Ingredients
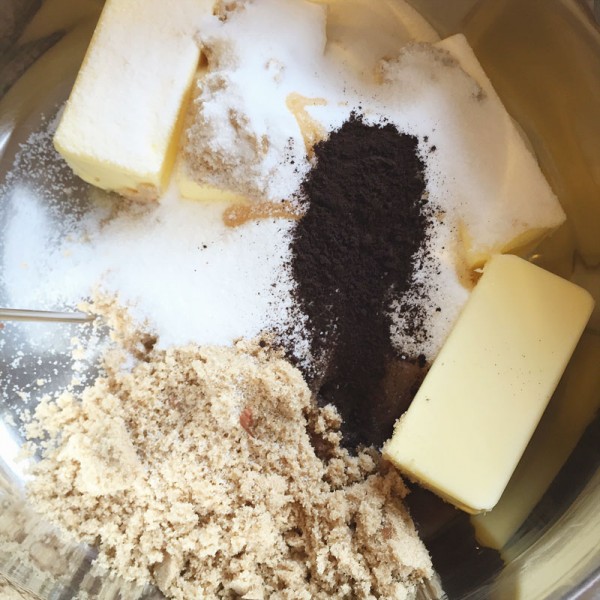
- 2 cups butter
- 1 cup sugar
- 1 cup firmly packed brown sugar
- 1 tablespoon pure maple syrup
- 1 teaspoon salt
- 1 pouch Starbucks VIA Instant Coffee*
- 1 teaspoon pure vanilla extract
- 1/2 teaspoon baking soda
- 2 cups chocolate chips
- 1 cup sliced almonds, toasted and cooled**
Instructions
- Line a large, rimmed baking sheet with parchment and set aside.
- In a medium-large heavy pot with a candy thermometer clipped to the side, dump in the butter, sugar, brown sugar, maple syrup, salt and instant coffee*. Heat over medium heat, stirring occasionally, until the thermometer registers 250ºF.
- Continue to cook, stirring constantly, until the caramel reaches 290-300ºF.
- Remove from the heat and immediately stir in the vanilla extract and then the baking soda. Pour onto the parchment-lined baking sheet and sprinkle the top evenly with the chocolate chips.
- Let the chocolate chips sit for about 3-4 minutes, until they are all soft and shiny, and then spread the melted chocolate gently with the back of a spoon or an offset spatula. Sprinkle the top with the toasted almonds. Let cool completely (in the fridge if your kitchen is too warm!) before breaking into bite-sized pieces and storing in an airtight container!
- *If you don't have any Starbucks VIA pouches, you can use regular instant espresso. I just hate buying that little jar and knowing how stale it was every time I wanted to use it!