I posted this recipe here on Sweet Anna’s a few years ago, but I figured it was time for an update with step-by-step photos for any of you who have been hesitating in making these.
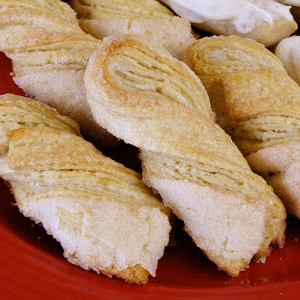
For some of you, this recipe may seem a bit involved and outside of your comfort zone. I’m here to tell you that it’s not.
And seeing as how it is my favorite Christmas cookie ever (and the same is true for many of my family members and friends!), I think you should give it a try. You’ll be glad you did!
This cookie IS Christmas to me. This is the treat I look forward to the most each year, and the taste and smell that floods me with the most memories.
I see my beautiful, soft, loving, sweet, always-baking Grandma. I see her beyond cozy house packed full of family (and always a few friends!) on Christmas Eve as we celebrate Julenisse’s coming, and most importantly, Jesus’ birth.
I feel her hands on mine, and I remember the awe that I always had at her strength.
She had the strongest hands.
I will always make these cookies for Christmas. They are first on my list each year and I will admit… sometimes flavored with a few tears. My goodness food can bring back memories, can’t it?
Ok, now back to business…
One thing to remember here is that you can break this up a bit. Read the recipe all the way through so you understand what’s coming. Make the dough when you have a chance. Put it in the fridge and get back to it when you have time again, up to 4 days later!
When you are ready to get working on the dough, keep a few things in mind. Cold hands, cool kitchen (don’t attempt this recipe after a full day of baking with a now-hot kitchen!), and be confident. You can do this!
Sprinkle your workspace with about 1/2 cup of vanilla sugar (That you just stirred up. No big deal there!). Take the dough out of the fridge, cut it in half, put half on your sugared workspace and half back into the fridge for later.
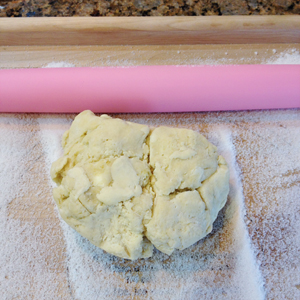
Roll out the dough into a rectangle about 16×8″. (Twice as wide as it is tall.)
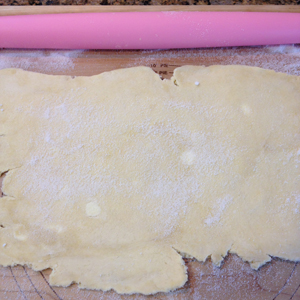
Sprinkle the dough with some vanilla sugar, fold each side over the middle and then turn the dough a quarter turn.
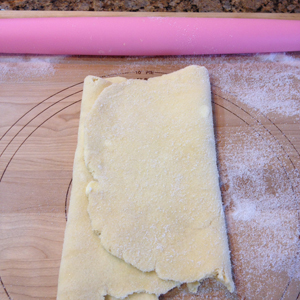
Roll it out again, into a 16×8″ rectangle, sprinkle with sugar and fold again.
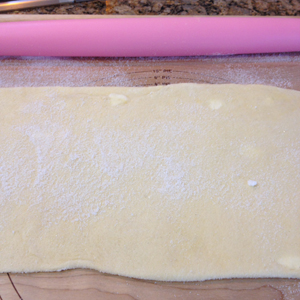
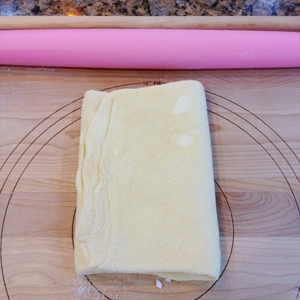
Repeat those steps again (bringing you to 3 total folds) and then roll out the dough a final time into a 16×8″ rectangle.
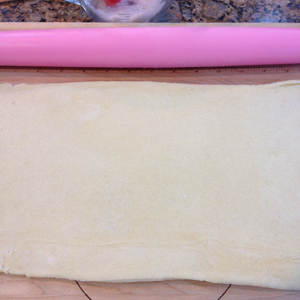
Cut the dough in half width-wise and then cut it into 16 strips lengthwise (each one about 1″ wide).
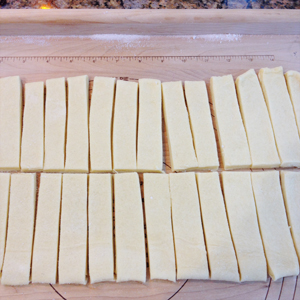
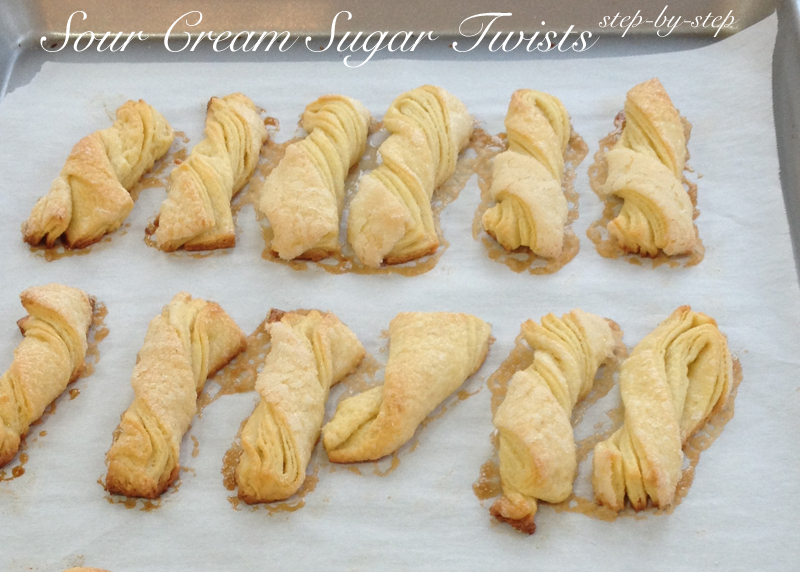
Twist each dough strip 2-3 times (it WILL unroll as it bakes, so twist away. If you are too gentle, you will have straights, instead of twists. Just as tasty, maybe not as fancy… see the bottom right one below for an example!) and press them gently onto a parchment-lined baking sheets.
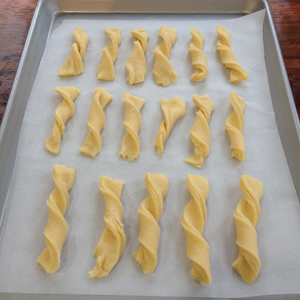
Bake in a preheated oven (that you just turned on when you were getting ready to roll the dough) and bake for 15-20 minutes, until the cookies are lightly golden brown all over.
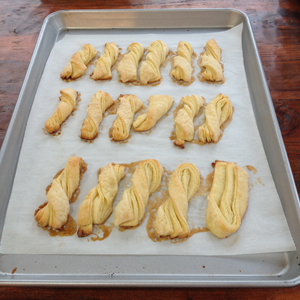
(As you can see – these cookies will NOT all turn out perfect. It’s just not going to happen. But that only means more tastes for you!)
Let them cool completely and then place them in an airtight container and store in the freezer.
These cookies freeze wonderfully… so go ahead and get started now. And enjoy the fruits of your labor with many morning cups of coffee to come!
(Oh, and if by chance things get a little too warm, or you get pulled away one too many times by a needy child, and the cookies turn out a little… ugly… don’t be sad. Just enjoy the fact that you now have a secret stash in your freezer that you don’t have to share. They will still taste great!!)
Ingredients
- 2 1/4 teaspoons active dry yeast
- 1/4 cup very warm (but not hot! about 105º) water
- 3 3/4 cups flour (spoon gently into your measuring cup)
- 1 1/2 teaspoons salt
- 1 cup cold butter, diced
- 2 large eggs, beaten
- 1/2 cup sour cream
- 1 teaspoon pure vanilla extract
- 1 1/2 cups sugar
- 2 teaspoons pure vanilla extract
Directions
Stir the yeast into the warm water and set aside to soften. In a large bowl whisk together the flour and salt. Cut in the butter until particles are the size of small peas. Blend in the eggs, sour cream, 1 teaspoon vanilla and the softened yeast. Mix thoroughly. Cover and chill at least 2 hours (or up to 4 days).
Preheat the oven to 375ºF. In a small bowl, combine sugar and 2 teaspoons vanilla, stirring well to combine.
Roll out half of the chilled dough on a board that has been sprinkled with about 1/2 cup of the vanilla sugar. Roll out to a 16x8" rectangle. Sprinkle with about 1 tablespoon more vanilla sugar.
Fold one end of the dough over the center. Fold the other end over to make 3 layers. Turn 1/4 way around and repeat rolling and folding twice, sprinkling the board and dough with additional vanilla sugar as needed.
Roll out to a 16x8" rectangle about 1/4" thick. Cut into 4x1" strips. Twist each strip 2 or 3 times and place on parchment-lined baking sheets. Bake 15-20 minutes, until the cookies are light golden brown. Repeat the entire process with the remaining dough.
http://sweetannas.com/2013/12/sour-cream-sugar-twists-with-step-by-step-photos.htmlThis recipe was the “Senior First Prize Winner in Pillsbury’s 8th Grand National Recipe and Baking Contest by Mrs. Leland E. Ross, Roscommon, Michigan”
